_DSC7825
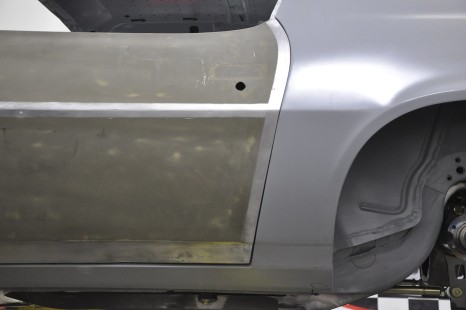
LH door gap. The LH side of the car has tighter door gaps than the RH side, meaning the LH of the car is "squished" or something. The doors will need to be cut a little for a proper gap.
_DSC7811
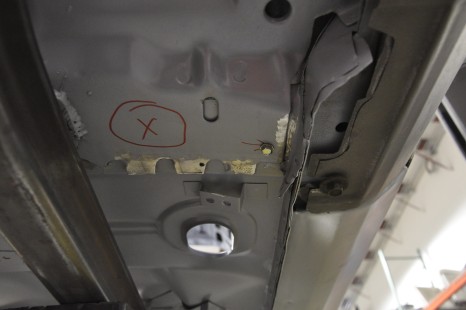
The ground off area is where the new floor was rested on top of. There are no plug welds here. There should be.
_DSC7808
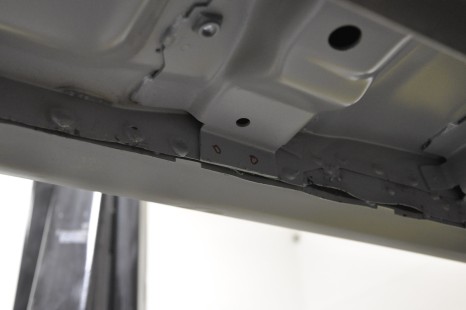
These circles illustrate where there should be plug welds. This flange is not attached to the rocker. It's a flange for the middle floor brace.
_DSC7827
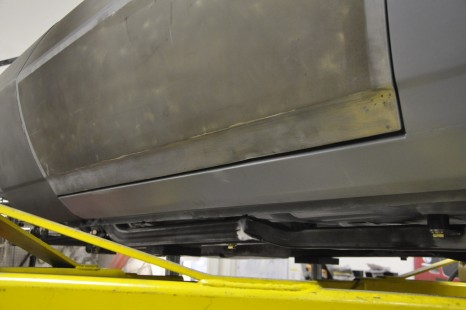
Bottom LH door gap. The top part is pretty even, so the back half of the car may be a little too low, causing this gap (probably from the major surgery).
_DSC8025
23823826004_4ab66ed358_b
_DSC8020
23823830674_2384df7994_b
_DSC8027
23825212433_c63ed7423c_b
_DSC7835
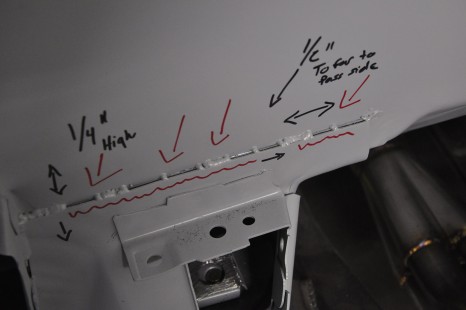
The third RED arrow.. right next to that weld you see a bright line. This bright line is a light we're shining through from the inside. For whatever reason this isn't fully welded so we will need to weld this shut along the whole seam.
_DSC7819
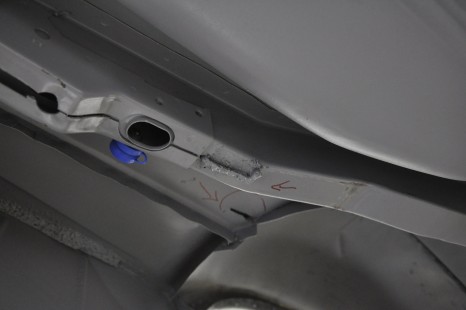
Another brace that was cut off, needs to be cut & smoothed.
_DSC7817
23875561439_d88239ef52_b
_DSC7812
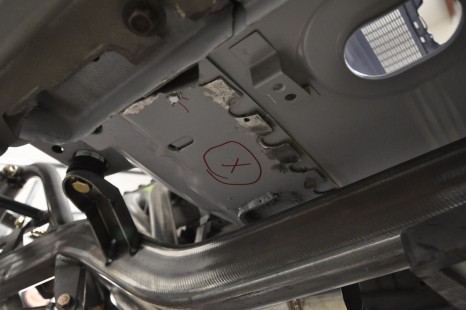
Another view of the LH floor area. There's also a cut off brace just to the right of the X. This was likely used with a body cart or something. Needs to be cut off & smoothed.
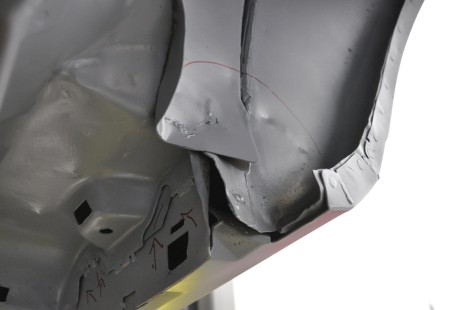
_DSC7804
This area circled has no welds. It's just sitting against other sheet metal. It needs to be welded. Also note the larger gap where the outer wheel well meets the rocker.
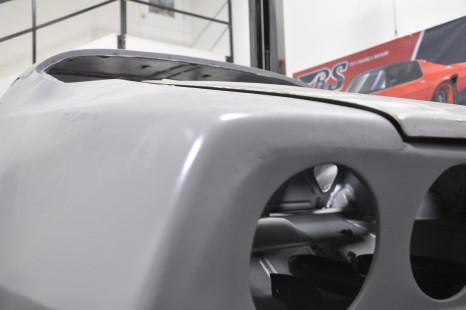
_DSC7841
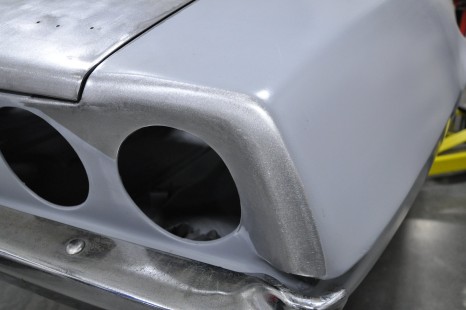
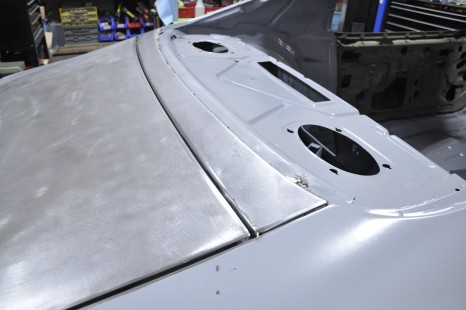
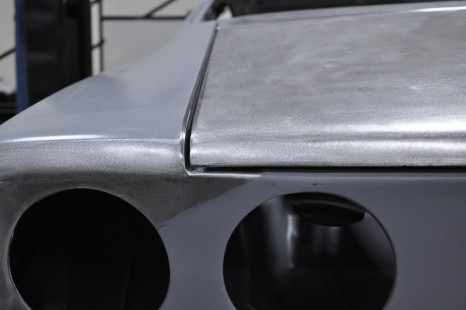
The quarter panels seem to bee too low compared to the trunk lid. We will need to likely modify the trunk area or just build up the quarter panels to fix this. The trunk is as low as it will go here, and still isn't flush with the top of the quarter.
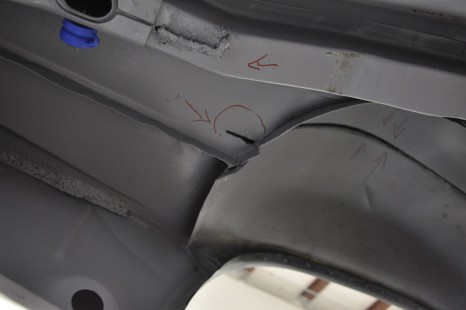
_DSC7818
Slit from cutting into the floor during the minitub process. Needs to be welded closed.
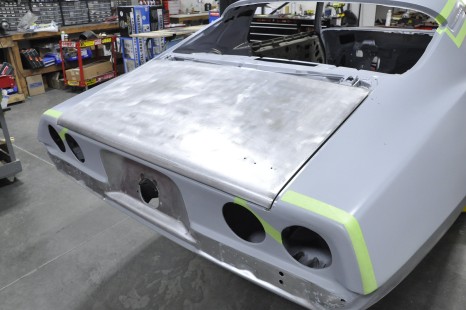
_DSC7944
23980710039_88c4524ffd_b
_DSC7834
24135305212_80126455b1_b
_DSC7832
Close up of the RH front body mount.
_DSC7809
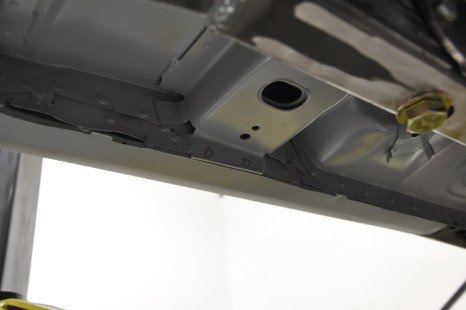
These circles illustrate where there should be plug welds. This flange is not attached to the rocker. It's a flange for a floor brace that the subframe mounted to.
_DSC7739
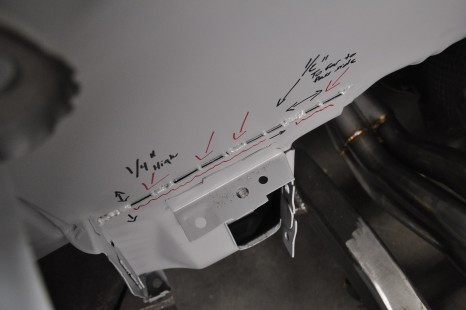
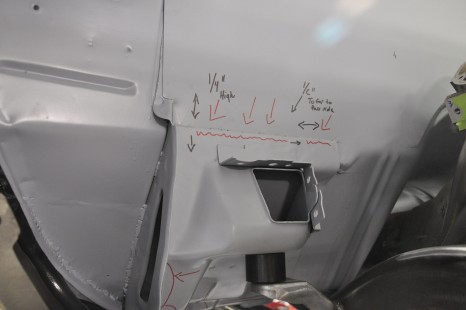
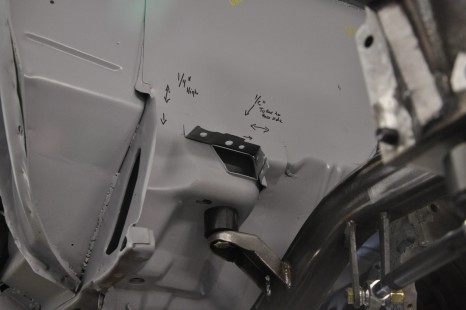
RH front firewall mount has been replaced, modified, moved, or something, at some point. It was welded 1/4" too high and 1/2" too far to the RH side, in order to be square & even with the other side, and our frame. We have not decided if we're going to modify the body or just modify the frame slightly, but would rather mod the body so it's consistent.
_DSC7845
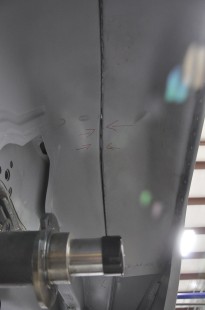
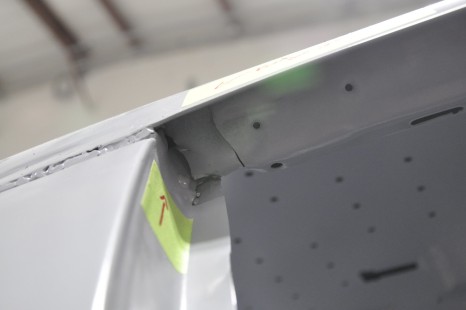
The line in the middle of the photo, about an inch to the right of where the arrow is pointing.. that's a tear in the roof channel. Needs to be welded up.
_DSC7831
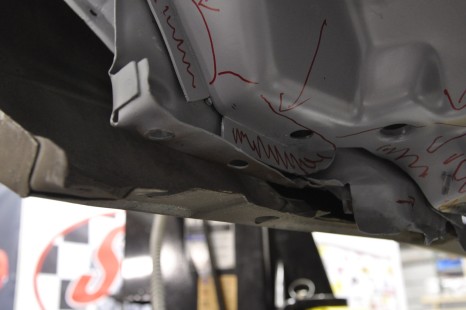
Another pic of the RH front area, showing the gap between the fender and the body where it is to be bolted on. We cannot fasten the fender to the body because of this.
_DSC7828
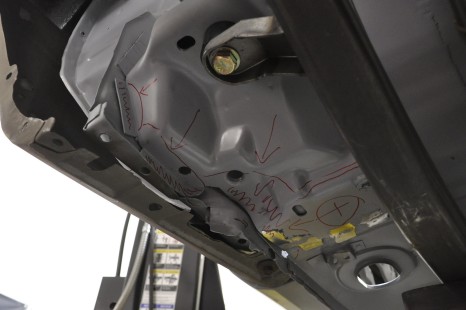
RH front, just behind the front wheels. All the marked areas have NO welds whatsoever. We will need to drill through the first layer of the flanges on the left and plug weld them. And seam weld the other areas.
Also notice the U shaped slot in the bottom of the fender, shown in the left middle of the photo.. The hole above it is where a captured nut/clip nut is attached to the body. There is about a 1" gap here. It should be within 1/4". Looks like damage at some point. This will need to be addressed, otherwise you'll have a 1-inch spacer between the body and the lower fender mount on that side. The LH side is decent enough to work with.
_DSC7805
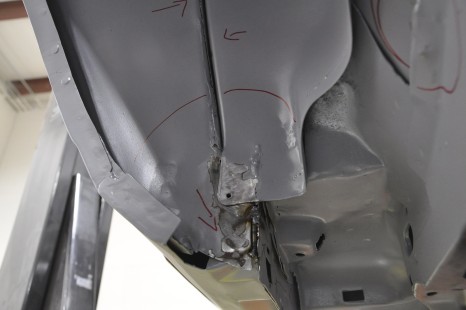
This is the LH rear now. Again very little welds.
_DSC8029
24343719472_eda3e78e19_b
_DSC8028
24343720442_13bac229c9_b
_DSC8081
24369533641_566059b63d_b
_DSC7974
24452069695_ba225c18c2_b
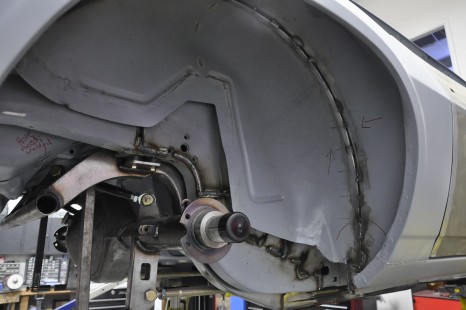
_DSC8855
24686431629_3d45e12fc4_b
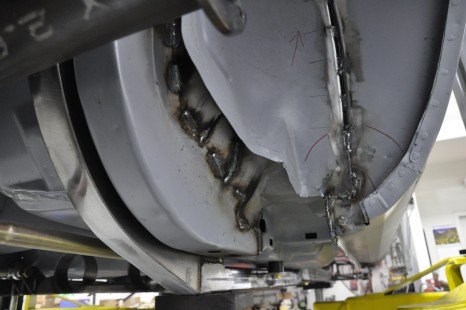
_DSC8860
25054058815_ac3d114a23_b
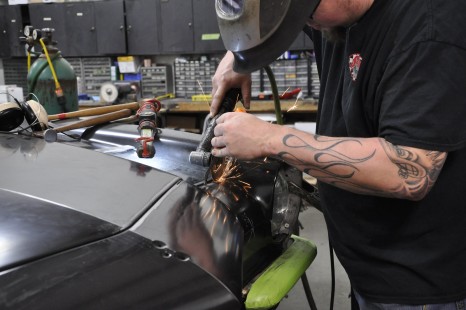
_DSC9501
Getting the gap even on the front valance to the hood.
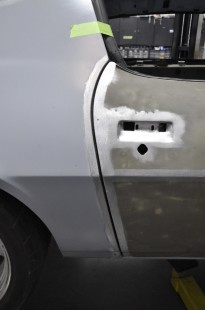
_DSC9498
Nice gap on the back of the passenger door.
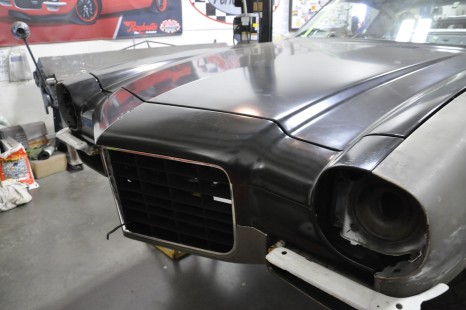
_DSC9412
Front sheet metal alignment - This is about the best we could do with the aftermarker panels.
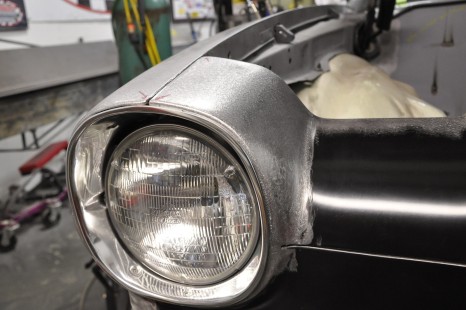
_DSC9582
The valance was modified / rolled outward to match the passenger headlight.
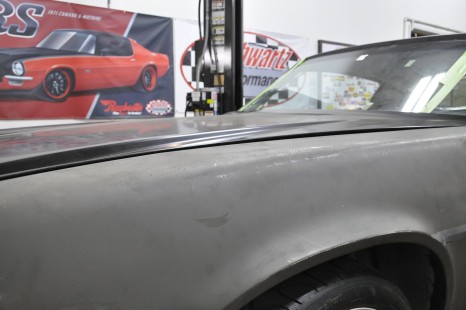
_DSC9508
Drivers side fender and hood do not match up so well.
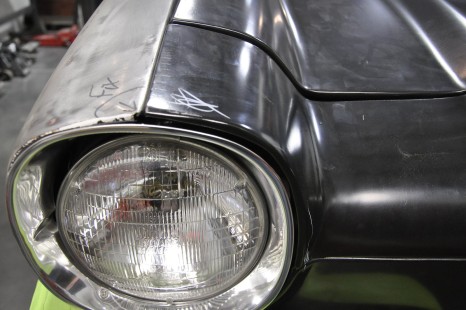
_DSC9504
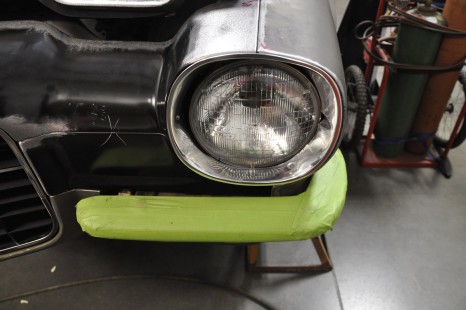
The passenger fender has a large gap at the headlight trim ring. This will be modified to match the drivers side.
_DSC9346
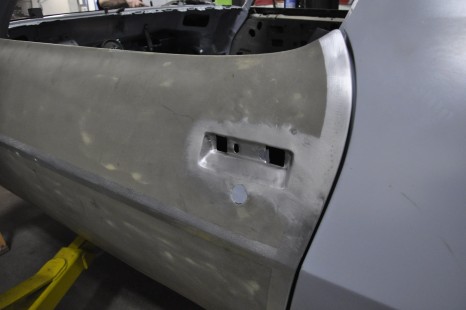
25248628410_ecb764c634_b
_DSC9592
25501210650_5dfbc2d141_b
_DSC9485
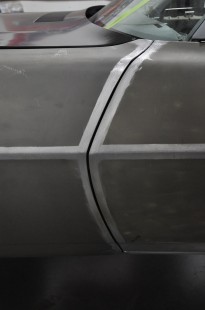
Nice front door gap on driver side
_DSC9345
25518111366_0c5754edcf_b
_DSC9584
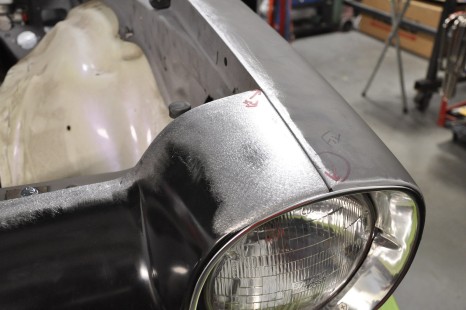
The gaps are closed nice and tight.
_DSC9506
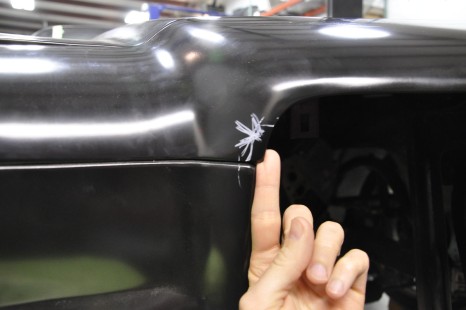
These two pieces are spot welded together from the manufacturer - This will be modified to be flush with each other.
_DSC9605
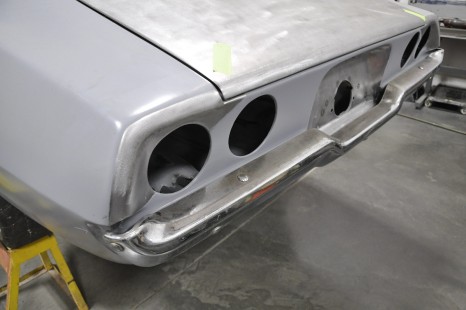
Do you want the bumper tucked at all?
_DSC9586
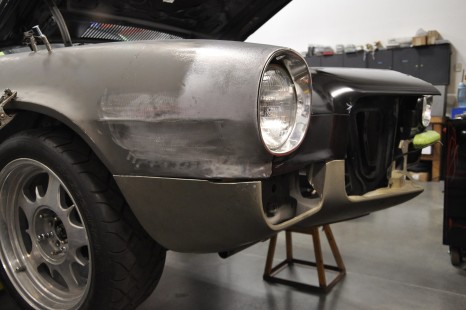
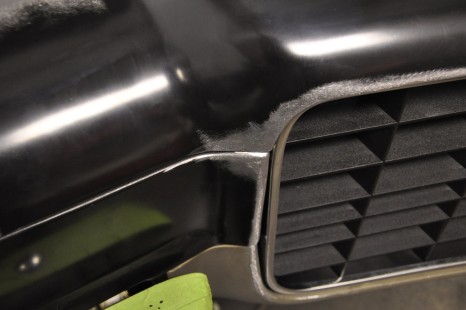
There are 4 pieces to this puzzle. From top to bottom: Fender, inner fender, front bumper bracket, then lower valance. These do not all line up properly and will need some modifying of the mounting holes.
_DSC9510
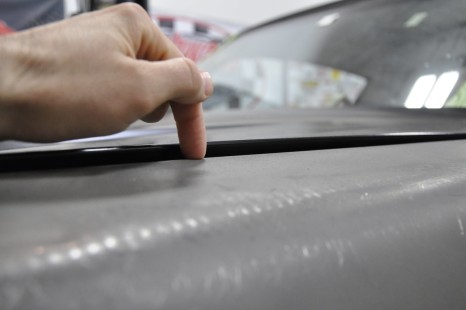
There is about a 3/16" difference here. It is due to the fender. See pic 9555 for a better explanation.
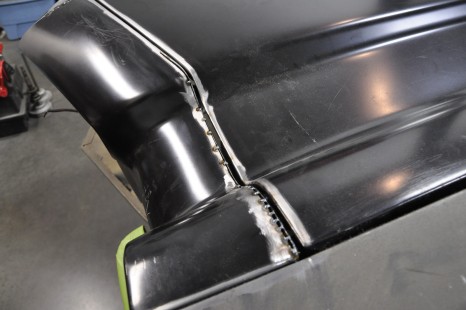
_DSC9515
Getting the gaps set on the hood.
_DSC9601
25801884945_4d53e8c721_b
_DSC9409
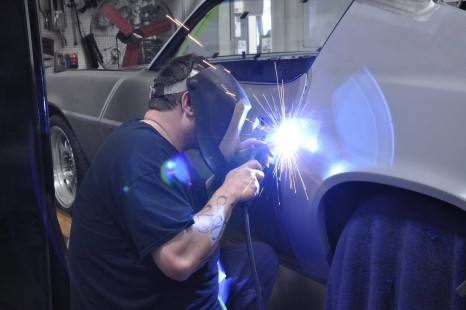
Fixing the door gap on the drivers side. We cut the quarter slightly and moved the jamb back.
_DSC9699
26039904411_a99dcc08e4_b
_DSC3200
28749550164_487bfc3150_b
_DSC3244
29432380001_8b94109fee_b
_DSC3243
29432381721_c30fbc654e_b
_DSC3241
29432382841_ece19c2dcb_b
_DSC3235
29432388771_cdf02dbe69_b
_DSC3567
29764901824_da2ab137d4_b
